
Bake Your Own Bread In Ten Minutes A Day! No-Knead Slow-Rise Bread Recipe
Yeasted bread is not a typically Ayurvedic food. Yeast is a fungus and considered 'tamas', meaning it is a dull, heavy food thought to create ignorance. Postpartum is a time for 'sattva' which is the quality of purity and peace. I won't include this recipe in my upcoming recipe book because during the early weeks after childbirth many mothers also struggle with candida and thrush.

So why am I including in on my blog? Partly because everyone who eats it asks me for the recipe. And because commercial bread contains many ingredients worse than yeast, including preservatives, mould inhibitors, synthetic vitamins and fructose. Plus baking bread is such a beautiful sadhana, or spiritual practice, a gift to your family that I feel the very act of baking bread creates some sattva anyway. Not to mention the amount of money you'll save- and you don't even need a thermomix.
You will need kitchen scales though, as weighing flour makes for much more reliable results with baking. And a 4 Litre tub is handy, with a lid, but not essential. And two oven-proof dishes with lids if you want to bake it as a loaf, rather than flatbread. Any large pyrex dish or le crueset style enamel pot will do the trick. Just halve the recipe if you only have one dish to bake in, or bake half today, half tomorrow.
The flour you use will make a difference to how much water you need. Less for white flour, more for wholemeal, so you may need to experiment a little. I use Eden Valley atta flour. Eden Valley is a biodynamic farm in the south-west so it's local and fresh. Atta flour is an Ayurvedic preparation of wheat that retains the nutrient dense germ of the flour, whilst sifting away the bran which is difficult to digest. Atta flour is more nutritious than white flour, but light enough for bread and cakes. You can experiment with spelt or any other flour, but you may need to adjust the amount of water too.
This is a very forgiving recipe. It's a very sticky dough so you couldn't knead it if you tried. But high water content and long rising time do the hard work for you in developing the gluten. Plus this method creates a bread that lasts a little longer, it's fresh for 3-4 days, rather than the usual 1-2 days. That is if you don't eat it first!
The result is a moist bread, with a soft but firm crust. You can add a cup of nuts or seeds or olives to the dry ingredients, or replace some of the wheat flour with rye. Add caraway or fennel or replace up to 75ml of the water with 70 ml of olive oil. Made with less water and proper bread flour and olive oil this makes a seriously good pizza base, but you'll need to add flour to the dough to roll it out. Go crazy! Just bake the basic recipe a few times first to get the hang of it.
Once the dough has risen you can keep it in the fridge for up to two weeks, and just break off a lump to cook fresh, or roll out a pizza base whenever you want one.
So here is the recipe you've all been waiting for. Seriously, it could change your life.
Ingredients
1kg flour
750ml water
½ teaspoon instant dried yeast
10 g salt
Measure out and mix all dry ingredients together in a large bowl (or 4 Litre tub). I mix mine up in a large stainless steel bowl and use a dinner plate as a lid.
Add the water and start mixing with a spatula or wooden spoon. When it's too stiff to mix use your hands and make sure there are no dry lumps of flour left.
Cover with lid and leave for 12-20 hours until doubled in size. I leave mine overnight and it doesn’t matter too much if I get to it straight away in the morning or after nap time/school drop off. If you are using a 4L tub you will know it's ready when it's climbed right up to the top. Your dough will rise quicker in warm weather and slower in cool weather. For a quicker rise use lukewarm water, to begin with. At this stage, you can put your dough in the fridge to bake another time, or cook half now, half tomorrow so you have fresh bread every day.
Punch your dough down and preheat your oven to 220'C. You'll need to pop your two pots with a lids to preheat in the oven now for 30 minutes.
Split the dough in half and put half in each pre-heated pot, sprinkle with flour and put on the lid. When you put the dough in it will sizzle and not stick. However if you are worried your pot isn’t hot enough line it with baking paper so it doesn’t stick.
Pop it in the oven. Bake with the lid on for 30mins and then take the lid off and bake for another 15 minutes.
If you don’t have an oven proof dish with a lid you can try baking this as flat bread.
If you want to nourish, traditional recipes ideal for new mums please check out my book Nourishing Newborn Mother - Ayurvedic recipes to heal your mind, body and soul after childbirth. Buy it now or click here for more info.
Nourishing Newborn Mothers
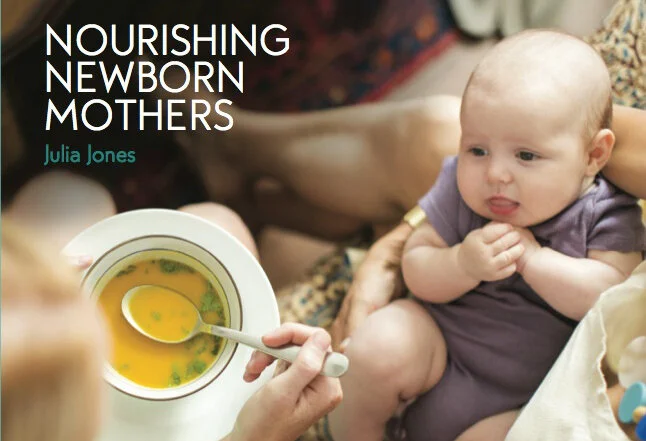
Ayurvedic Vegetarian Recipes To Heal Your Mind, Body And Soul After Childbirth
Nourish yourself so you can nourish your baby. Enter your email now and I'll send you the first chapter free.